
Learn how to make this award-winning Blackberry Pie recipe. In this recipe, you'll find a golden flaky crust with a sweet blackberry center with a hint of tartness. The filling is easy to make and you'll have a homemade pie in no time at all.

Why This Recipe is the Best
This Blackberry Pie is one of our absolute favorite ways to celebrate summer. Living in the Pacific Northwest, wild blackberries are everywhere during late summer, and this pie is the perfect way to let them shine. It's made completely from scratch and captures that sweet-tart flavor we love in a classic fruit pie. Add a scoop of vanilla ice cream on top, and it's pure heaven in every bite.
We especially love how customizable this recipe is. The lattice top gives it a charming, old-fashioned look, but you can easily switch things up with a buttery crumble topping for a Southern-style twist. Whether you're using fresh-picked wild berries, store-bought, or frozen, this pie is always a hit-sweet, tangy, and bursting with juicy blackberry flavor.
For more DIY blackberry recipes, try our Blackberry Almond Cake and our Blackberry tart. You'll also love sipping on our Blackberry Lemonade.
Jump to:
Key Ingredients
Blackberry pie is a simple pie when it comes to ingredients. It's all about getting that true blackberry taste while adding a little sweetness to the tart berries.

- Blackberries- This recipe is created with fresh blackberries. You can also use frozen or canned blackberries but it's important to remove the excess liquid before making the pie. With your fresh berries, be sure to use sweet and juicy blackberries for the best results.
- Thickener- We use a combination of flour and cornstarch to thicken the pie. The blackberry juices must begin to boil so the thickener can activate.
- Lemon- A dash of lemon juice is mixed with the berry filling to balance the flavors and add a touch of zest.
- Milk- Brush milk on top of the crust to give it that bakery-style look.
See recipe card for quantities.
How to make Blackberry Pie
Learn how to make tasty blackberry pie with these easy-to-follow steps. Use the pictures below for extra help along the way.
How to make blackberry filling

- Start by adding fresh blackberries to a medium mixing bowl. Mix with lemon juice and then toss with flour, cornstarch, and salt until well coated.
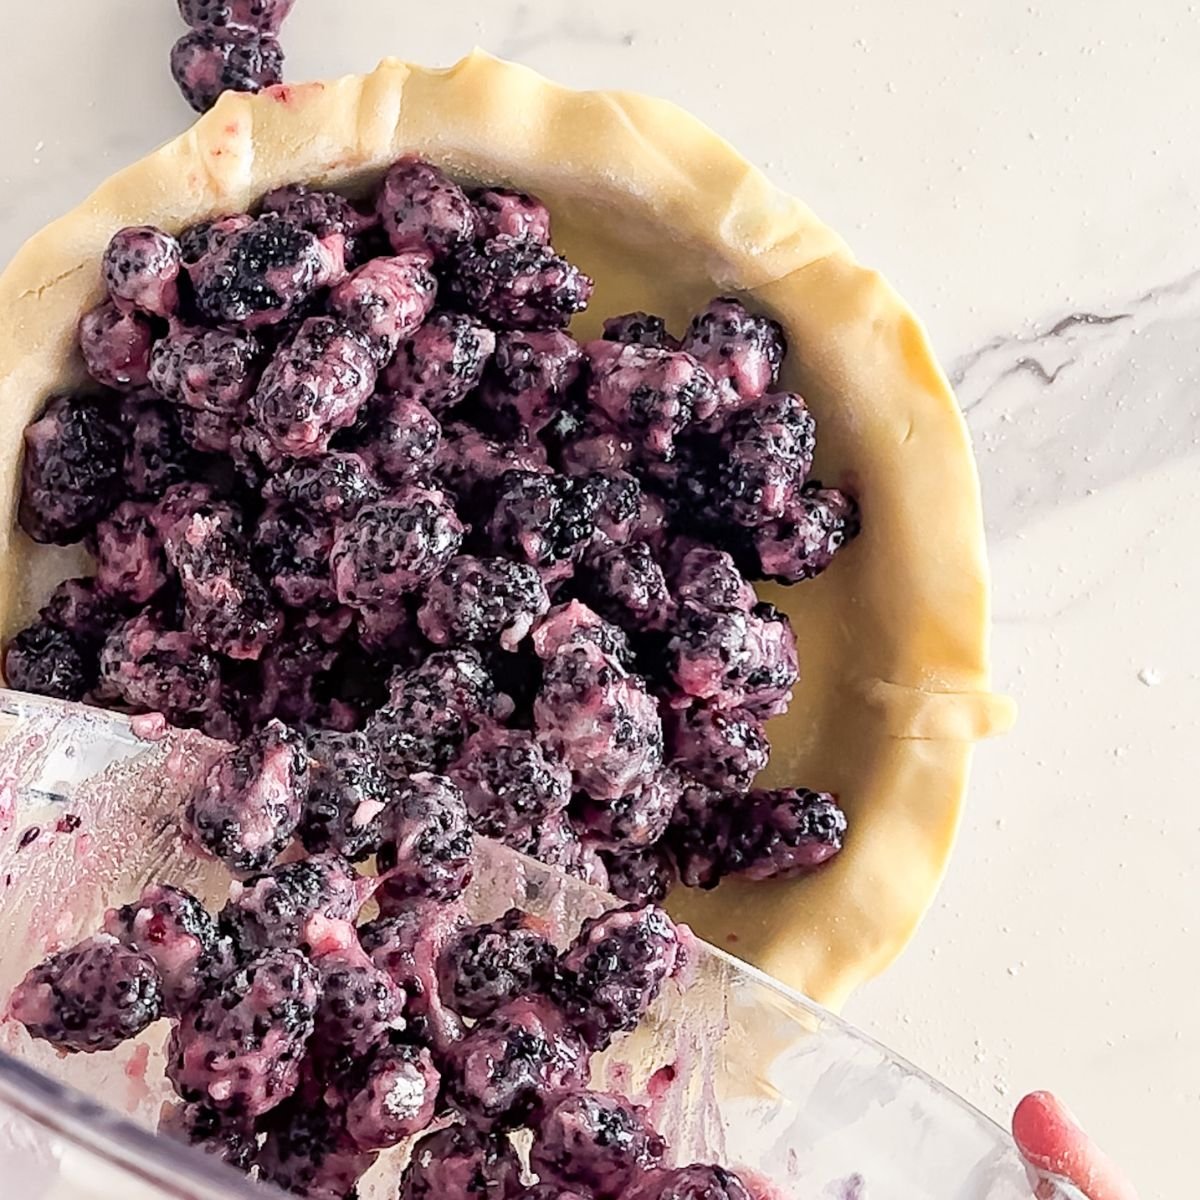
- Add the blackberry mixture to the prepared pie crust.

- Cut the remaining pie crust into ¾-inch strips. Place about six vertical strips first, then add the horizontal strips, weaving them over and under every other vertical strip. Trim the edges and either fold over and pinch for a classic look or trim them shorter, tucking them under and pinching them to the lower crust.

- Brush the top with milk and sprinkle on the remaining sugar. Bake for 18 minutes at 425°. Then reduce the temperature to 375° F and bake for 50-80 minutes.
- Cool to let the pie set and serve with vanilla ice cream or whipped cream.
Hint: Tent the pie and don't worry about over-baking it, the most important thing is for the filling to be bubbling all over to activate the thickener.

Common Mistakes
No one wants a pie with a soggy crust! To prevent this, start by baking your pie at a higher temperature-about 425°F-for the first 18 minutes. This helps set and crisp up the bottom crust before the filling releases too much moisture. Then, lower the temperature and continue baking as directed. Additionally, placing your pie on a rack below the oven's center allows heat to distribute more effectively to the bottom crust, helping it bake through evenly. These simple tricks will give you a perfectly golden, crisp bottom for your pie!

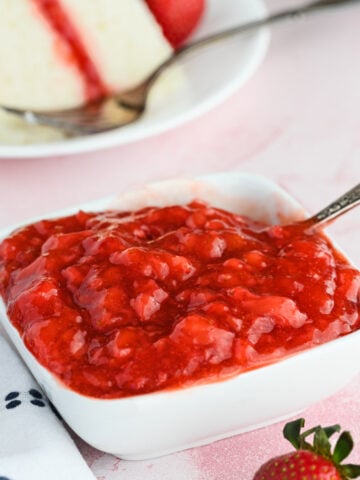
For more fruit pie recipes perfect for summertime through Thanksgiving, try our Strawberry Pie.
Top tip
Before baking, always taste your blackberries! If they're bland, your pie will lack flavor, so consider adding a bit more sugar or a squeeze of lemon juice to enhance the taste. If they're extra sweet, reduce the sugar by about 2 tablespoons to keep the filling balanced. Hard, dry blackberries won't break down well during baking, so you'll have a less juicy and flavorless pie.
Related
Looking for other recipes like this? Try these:


Recipe

Blackberry Pie
Ingredients
- 1 double pie crust
- 6 cups blackberries washed and patted dry (for frozen, see post above)
- ¾ + 1 Tablespoon cup sugar divided
- ¼ cup flour
- 2 ½ Tablespoons corn starch
- 1 ½ Tablespoons lemon juice
- ⅛ teaspoon salt optional, see note 1
- 2 teaspoons milk
Instructions
- Preheat oven to 425° F and move center rack down one level in the oven. If using homemade pie crust, roll out into 2- 13" circles. Place one pie crust in the bottom of a 9" pie pan, letting the excess hang over the sides.

- In a small mixing bowl combine sugar, flour, corn starch and salt (if using). Whisk to combine. Place blackberries in a mixing bowl and pour lemon juice over the top. Pour sugar mixture over the top then use a spatula to fold everything together until well combined. See photos above for a great visual. Pour blackberry mixture into the pie plate.
- Cut remaining pie crust into ¾" strips. I like to place all of the vertical strips first (I use about 6), then place the horizontal strips, lifting and going under every other vertical strip (see photos above) for a weave. Trim the edges of the crust and either fold over and pinch the edges together for a classic look or trim all the edges shorter and tuck under a bit, pinching the strips to the lower crust. Brush the top with milk and sprinkle with the remaining sugar.
- Place pie on the rack just down one from the center of the oven and bake for 18 minutes at 425°. Then reduce temperature to 375° F and bake for 50-80 minutes. It's a long time frame, but it is VERY important to cook the pie until the filling is bubbling all over. Cooking a pie that long will result in a crust that is too brown. Check your pie crust regularly for doneness. As soon as it's golden, tent the pie and return to the oven. Mine needed to be covered at about 20 minutes into baking at 375. See note 2 for more information on this.
- Once all of the filling is bubbling, your pie is done cooking! Remove from the oven and cool for at least 2 hours before serving. We like to warm our slices up in the microwave for 20 seconds and serve with ice cream.
- See note 3 or the post above for more information on using frozen blackberries.


Video
Notes
- Salt is not necessary for this pie and it tastes great without it. However, it does give it a little extra oomph and can be quite delicious with it.
- My favorite way to cover this pie is to get a piece of foil that is bigger than the pie, cut an "x" in the center, about 4 inches long. Place the foil around the edges of the pie, tucking it around (use oven mitts!), but leaving it bulging up in the center. Peel back the parts of the x slightly and return to the oven.
- Frozen berries tend to have a lot more liquid than fresh and blackberries already have quite a bit of juice to begin with. To use frozen blackberries, thaw in a colander and allow the juice to drain out. Make as directed, only use an extra 1 ½ Tablespoons corn starch.
Nutrition
Using Frozen Blackberries
Frozen blackberries are a great option for pie, but they require a little extra prep to ensure your filling isn't too runny. Since frozen berries hold more juice, it's best to thaw them first in a strainer or sieve, allowing the excess liquid to drain. This helps prevent a watery filling.
Also, because frozen berries release more moisture as they bake, you'll need to add 1.5 tablespoons of cornstarch to help thicken the filling properly. If using canned blackberries, be sure to drain them well and adjust the sugar as needed since they may already be sweetened.
How to store Blackberry Pie
Blackberry pie can be stored at room temperature for up to two days if loosely covered with foil. For longer storage, refrigerate it for up to 5 days.
If you want to freeze it, blackberry pie freezes beautifully! Simply wrap the fully cooled pie tightly in plastic wrap and then in foil before placing it in the freezer for up to 3 months. When ready to enjoy, thaw overnight in the fridge and reheat in a 350°F oven for 15-20 minutes to bring back that freshly baked taste.
Variations
While we love this pie as is, we also have enjoyed substituting a cup of fruit for a cup of blackberries. It tastes great with added blueberries, peaches, raspberries, and strawberries.
How to avoid a runny pie
For a perfectly set pie, bake until the entire filling is bubbling-this activates the cornstarch, ensuring a thick and tasty filling. When transferring the blackberries to the pie crust, include the juices from the bowl, as they contain some of the cornstarch and flour needed for proper thickening. Once baked, allow the pie to cool for at least two hours before slicing so the filling fully sets. Patience is key for a pie that holds its shape beautifully!
How long do you bake blackberry pie?
Once the pie is assembled bake for 18 minutes at 425°. Then reduce the temperature to 375° F and bake for 50 to 80 minutes. The bake time may seem very long but it's important for the juices to boil and activate the thickener in order for the pie to set properly.


Jed says
Love this recipe!